
10 Steps to Stay Productive as a Makeup Artist
When you’re just starting your career as a makeup artist it may take you more time to finish a makeup look than if you are a skilled professional with several years of experience. This is pretty normal, as with practice you will manage to eventually create the same look in a shorter period of time and figure out ways to increase your productivity, which will quickly become your signature tricks.
Sometimes you may need to speed up your makeup application for a client depending on the project and time restrictions; imagine the situation when your client has only 30-40 min for her makeup to be complete and she wants the same full glam look she gets from you every time with a perfect application and blending! Or maybe you have booked a bridal party of 6-8 bridesmaids who need to be ready in 5 hours. All of them! What can you do?
You have to find ways that will make your work faster, more efficient, and most importantly without sacrificing the quality. Here are a few professional and time saving tricks to help guide you and make your work more practical as you take on more clients throughout your career:
1. Remember that if you always have everything from your kit in the same order every time you’re doing a client’s makeup it will make it easier to find a certain brush, pencil, or any other product! Organization is a huge time saver.
It is very convenient to have all groups of products in one plastic bag (they are sold online or as a part of a makeup case/bag). Eye shadows in one bag, bronzers, blushes, highlighters, liquid lipsticks, etc. Brushes can be conveniently placed in the brush case in a certain order that you prefer (from first application to last is a great tip!).
2. To save time for your client to choose a product color/type (lipstick, blushes, foundations, contour, eyeshadow, etc!):
Depot all of your products into a palette. They are sold by different companies (vueset.com is a favorite of ours!) and you can choose the one that will work best for you. A client that sees all of the available product colors/types at once will make a decision much faster than when you have to open every individual lipstick or other products separately.
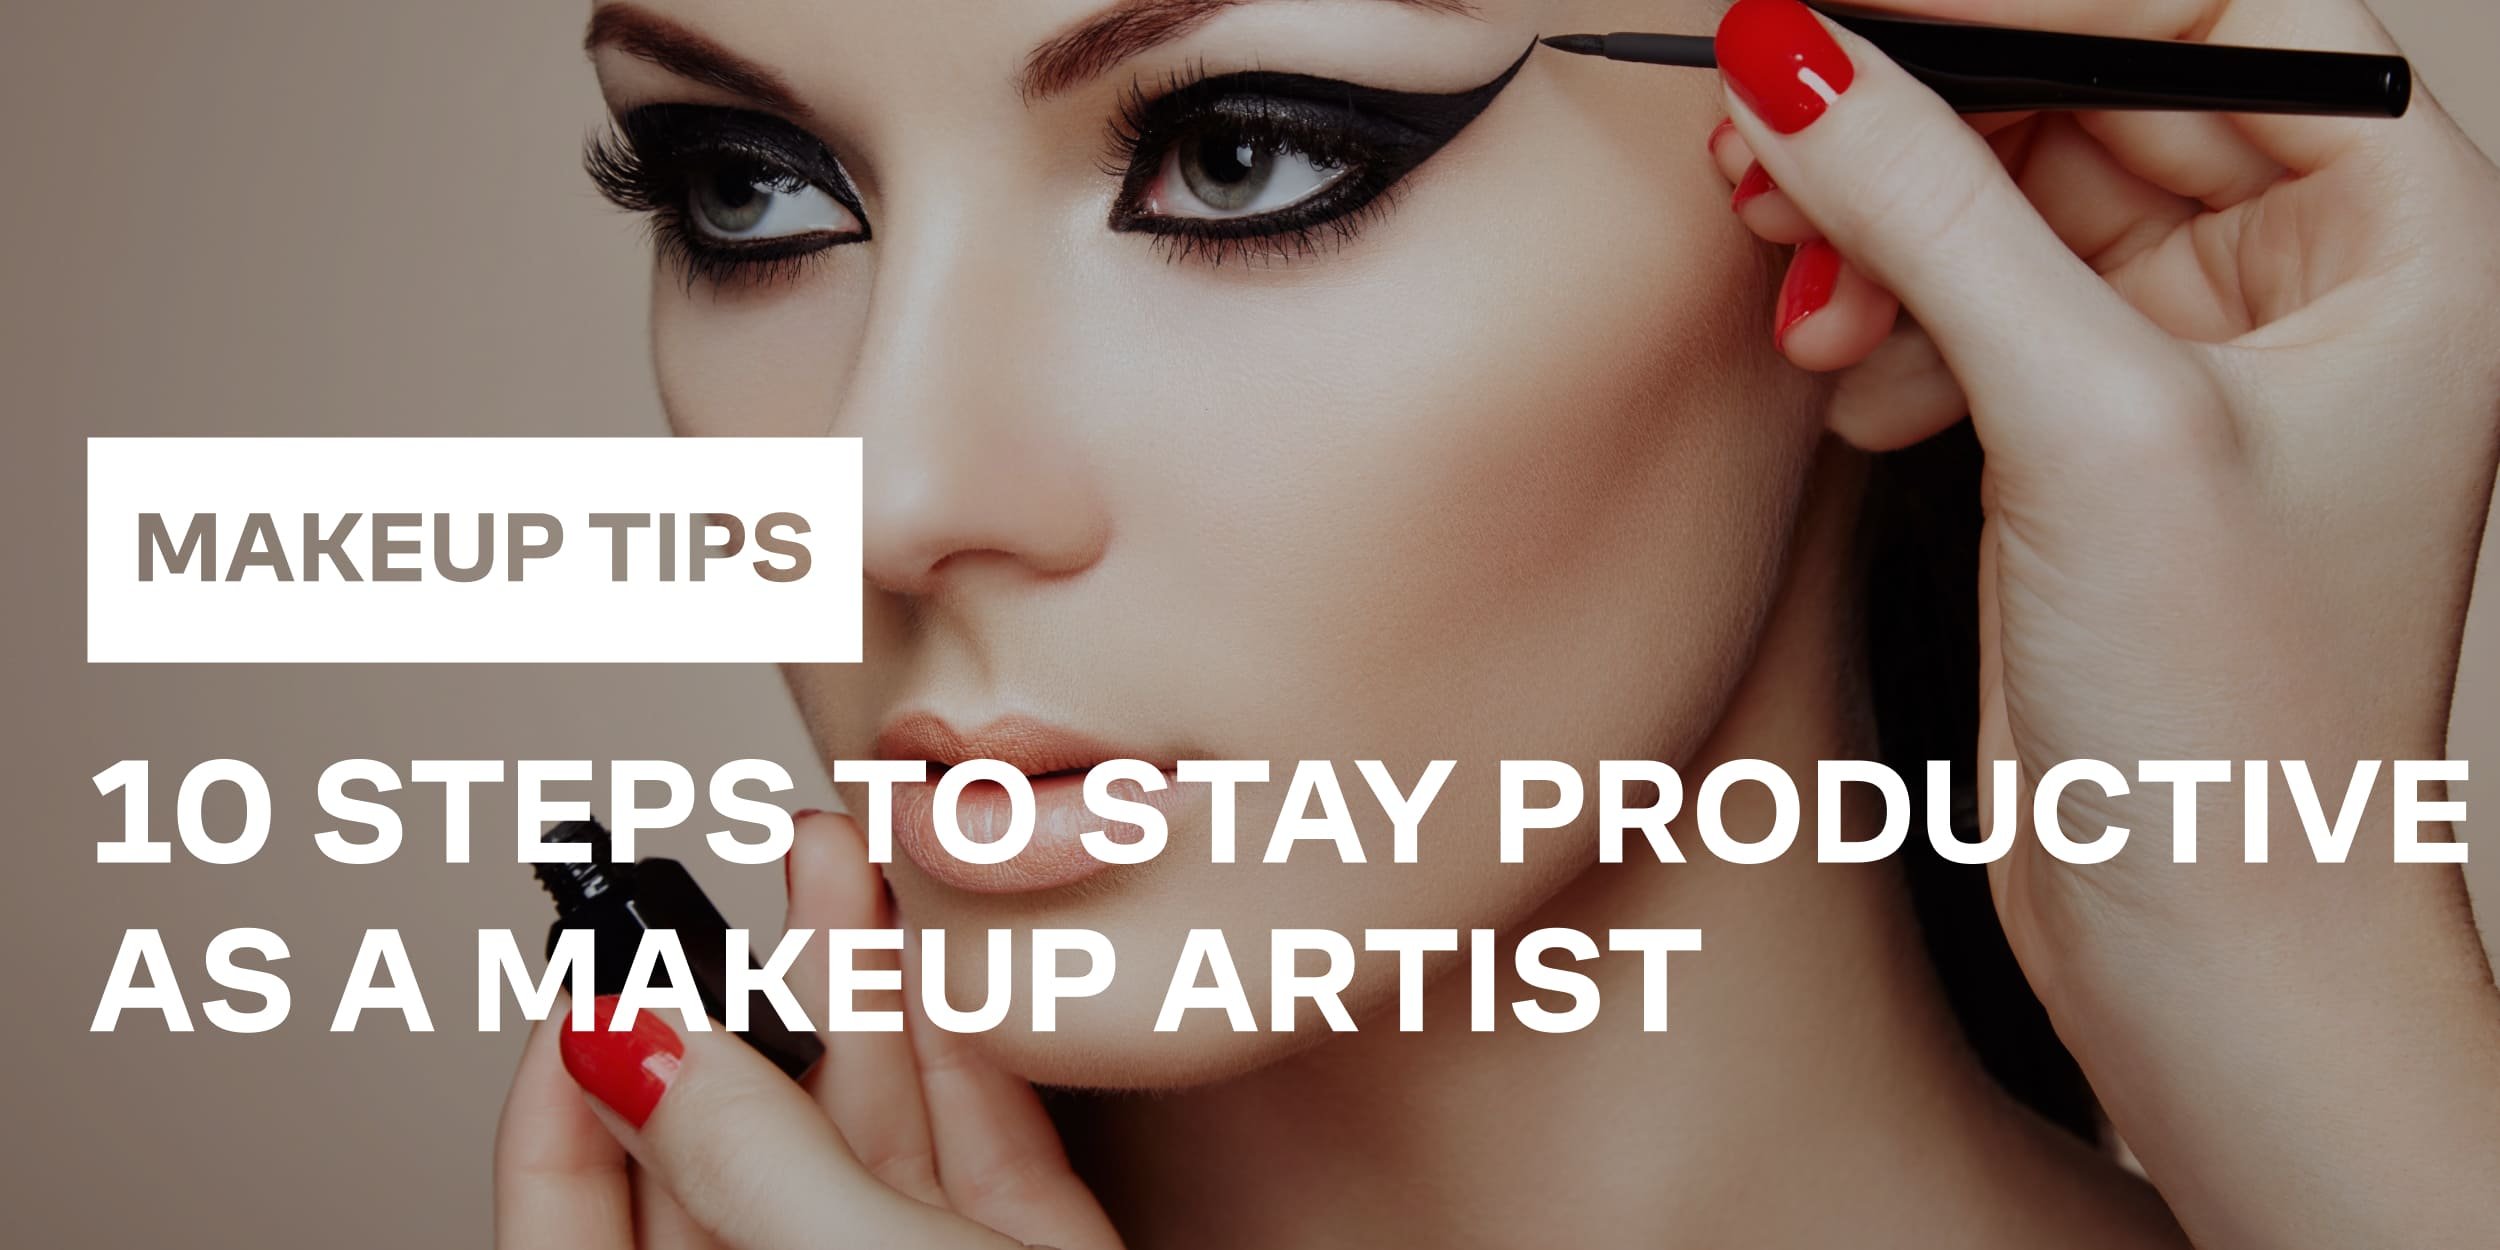
3. Doing eye liner on a client can sometimes be the most difficult process in makeup application, even for skilled makeup artists. Find the easiest and fastest way of doing it, for you and your individual application process and technique. It doesn’t necessarily have to be a gel or liquid eye liner:
Eye pencils sometimes are easier and faster to apply. Even when you apply it not so evenly the first time, you can go over it with a flat synthetic brush afterwards making the line smooth and maybe even a bit smoked out. Just drag the brush with the rest of the product left on it outwards prolonging the line and you will get a nice soft wing. Perfect eye liners made with gel or liquid products are really time-consuming and need practice – therefore this trick can really save you and your precious time!
4. If the look your client is going for is still a sharp and edgy eye liner:
Use tape to perfect your angles for the perfect line. Just remember to stick it couple of times on your arm to reduce the tackiness (they also make cosmetic / styling tape - which we highly recommend over traditional tape!), then attach it at the right angle kind of prolonging the lower lash line outwards and it will be much easier for you to draw a perfect wing without taking a lot of extra time for perfection when applied completely freehand. After you’re done remove the tape and apply concealer if the tape budged some of your previous application.
5. If your client is looking for a smokey eye but you are short on time:
Use cream eye shadow. You can take a soft brown color or even a color with shimmer to it and apply all over the lid, blend the edges with a synthetic brush, maybe apply a tiny bit of lighter eye shadow onto the center of the eye lid to add dimension, highlight the brow bone and inner corner, and your smokey eyes are done! It will definitely take much less time than to create smokey eyes by blending all these eye shadows in the crease creating a definition and ombré effect, and achieves a very similar application when complete.
6. Applying mascara onto the natural lashes after false lashes are applied will save you time as well.
You will skip the step where you apply mascara first and then apply falsies. Second, after you applied falsies you need to press natural lashes into them to make your lashes more natural looking. This way, if you apply mascara after the falsies are on you will save time twice.
7. If for any reason you have to go darker with eye makeup and you have already finished the look:
To save it from eye shadow fall out use Shadow Shields. Using a tissue in this case and press it every time you apply darker eye shadow will be very inconvenient and time consuming. Also, these shields can be used as a tape for the perfect wing we were discussing about above.
8. If your client wants a look with glitter:
Do not apply loose glitter as it will be all over the client’s face and it will require additional time to clean any fall out. Instead, use a pressed glitter or a glitter in a tube (like a glitter eye liner). They will apply perfectly onto the eye lid without any fall out and will stay all day and night!
9. Good light will save you a lot of time as you will see how you apply and blend products onto a client’s face right away, without the need to ask her to come “into the light” for you to see if everything looks good.
The top time saving tip? Invest in a good (and portable) lighting system. Especially if you work on site and do not know what the light will be in every job that you will have.
10. Also working in a more comfortable position means that you will save energy and will be working faster than if you would need to bend all the time to the client’s face, you will soon get tired and even exhausted, your back will hurt, your hands may get shaky and makeup application can turn into something really hard to accomplish.
Get yourself a makeup chair (we actually recommend portable chairs from Ikea or other stores as they will be more comfortable and sturdier than a traditional director’s style chair). When a client’s face is on the level of your face it will make your work more pleasant and thus much faster (and you will feel so much better at the end of the day!). Always remember to take care of yourself, too!