
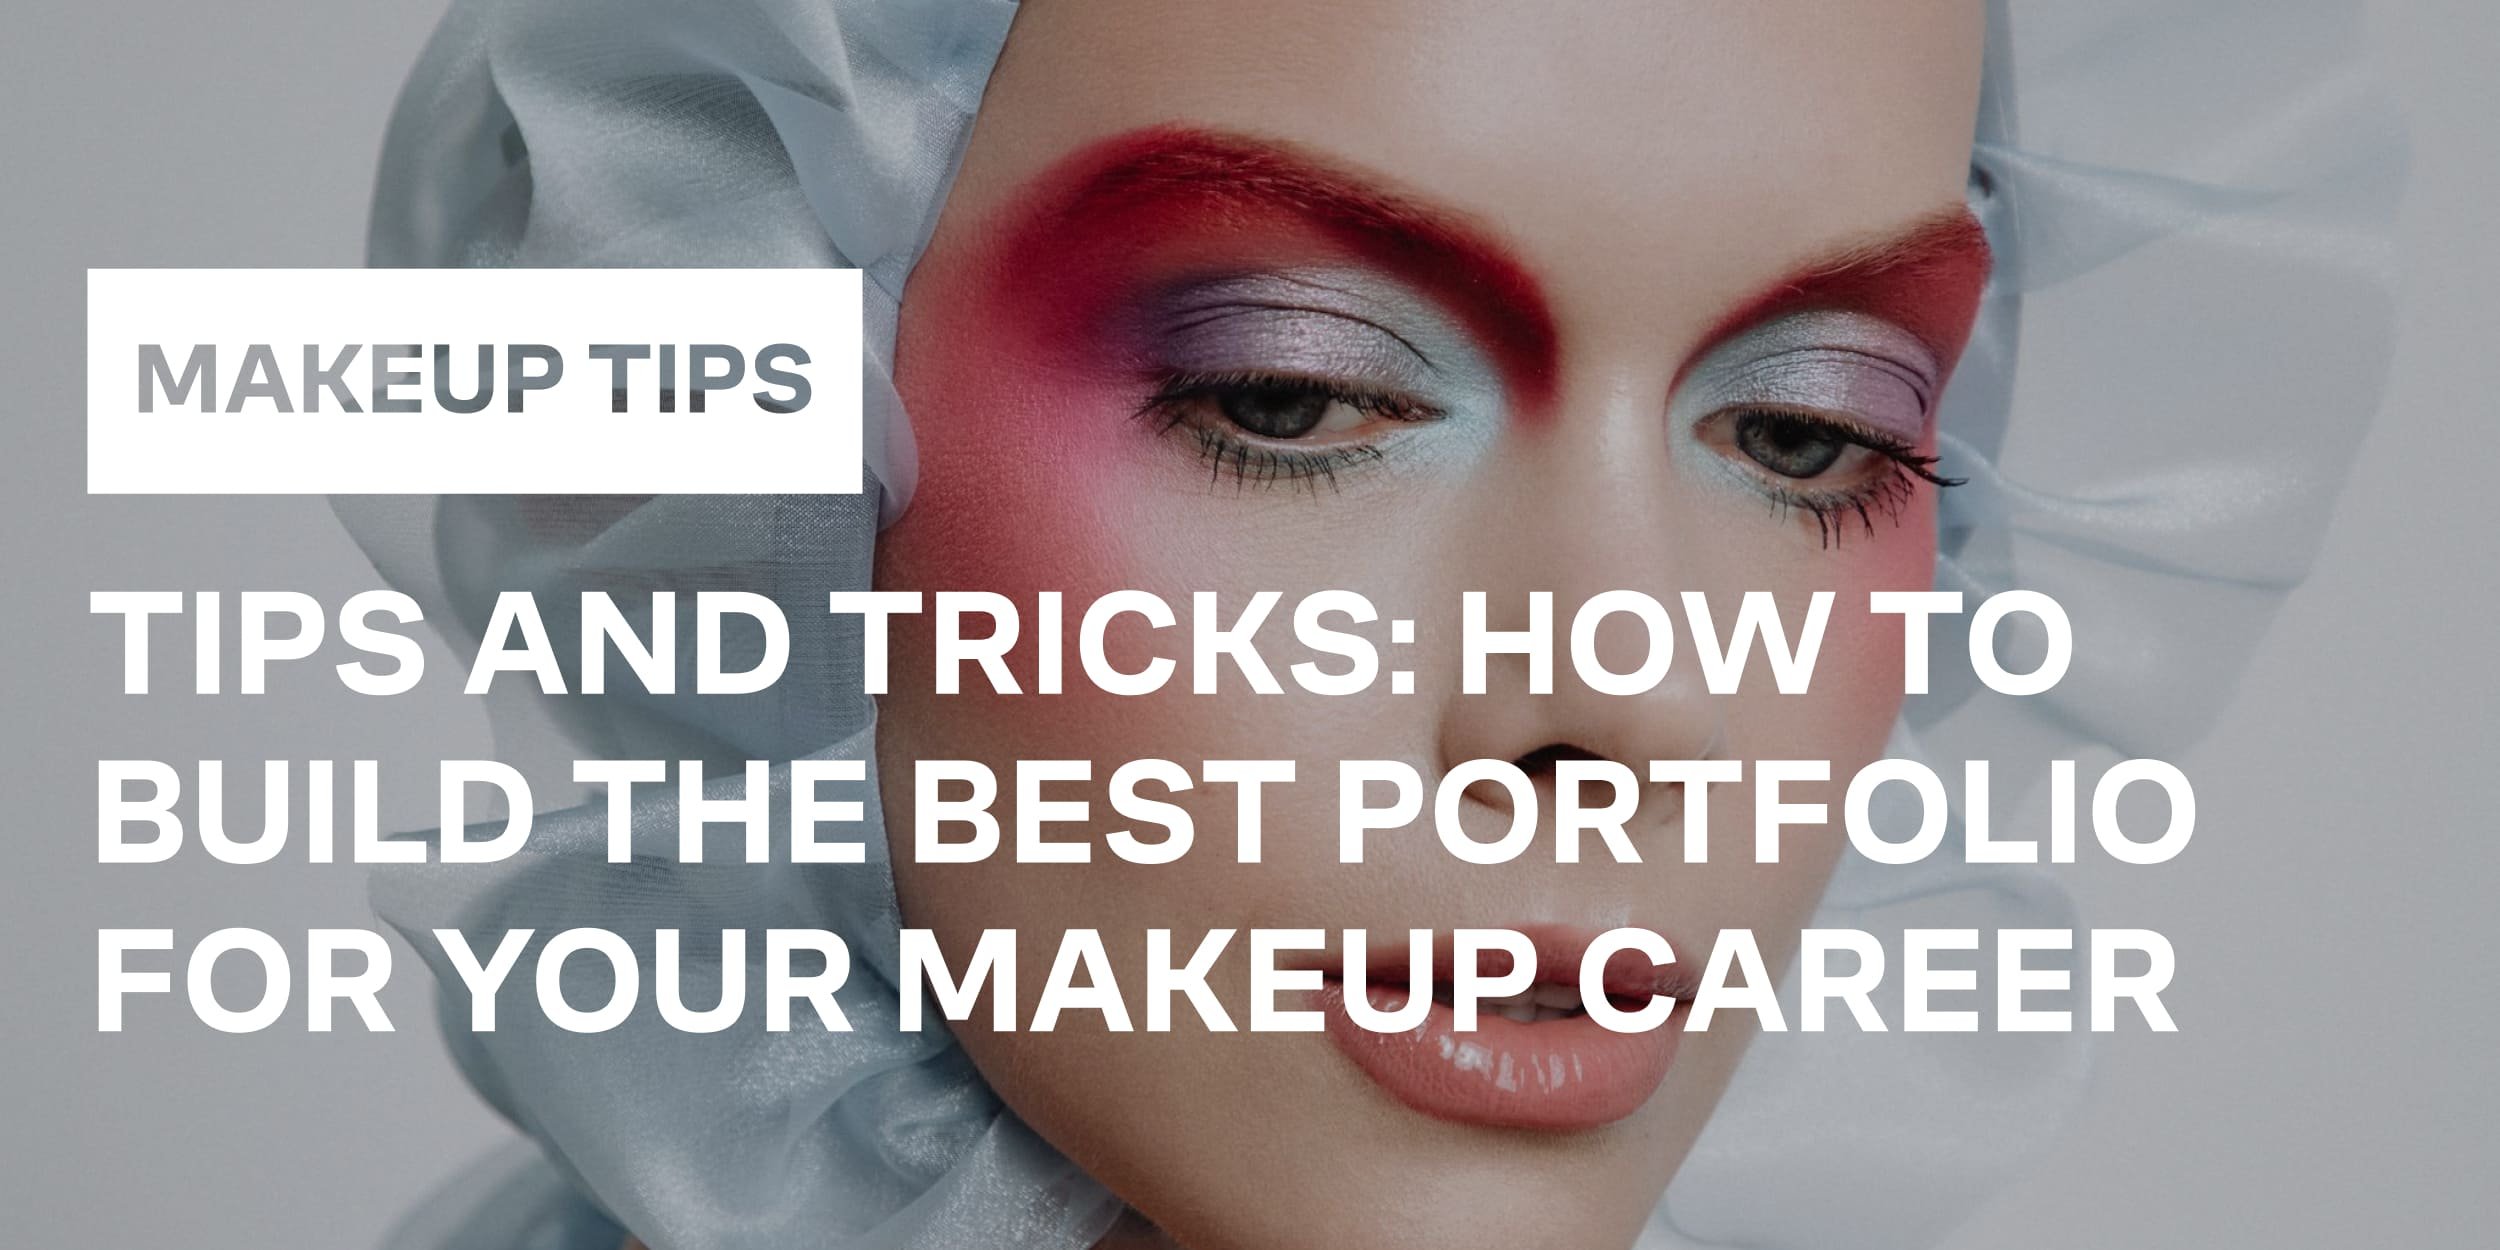
Ultimate Guide to Building a Standout Portfolio for your Makeup Career
Introduction
In today's highly competitive makeup industry, having a well-curated portfolio is more important than ever. As a makeup artist, your portfolio is not just a collection of your work, it's your personal brand, a showcase of your skills, creativity, and versatility. In 2024, with the rise of digital media and the ever-growing demand for beauty content online, a strong portfolio can set you apart from the crowd, opening doors to new opportunities, clients, and collaborations.
Whether you're an aspiring makeup artist just starting out or an experienced professional looking to refresh your portfolio, understanding how to effectively present your work is crucial. Your portfolio serves as your visual resume, and it’s often the first impression potential clients or employers will have of you. Therefore, it's essential to make that impression count.
This blog post is designed to guide you through the process of building the best portfolio for your makeup career. We’ll explore the key strategies for curating your work, planning impactful photo shoots, organizing your portfolio in a way that resonates with your target audience, and utilizing it as a powerful marketing tool. Whether you’re targeting bridal clients, editorial opportunities, or corporate gigs, this guide will help you create a portfolio that not only showcases your talent but also strategically positions you for success in the beauty industry.
So, let’s dive in and start building a portfolio that will take your makeup career to the next level!
Understanding the Purpose of Your Portfolio
Before diving into the details of what to include in your portfolio, it's essential to understand its purpose. A well-crafted portfolio is much more than just a gallery of your past work; it's a strategic tool that communicates your skills, style, and professional identity to potential clients, employers, and collaborators. In the fast-paced world, where digital interactions often precede face-to-face meetings, your portfolio needs to be a compelling representation of who you are as an artist.
Defining a Makeup Portfolio
A makeup portfolio is a curated collection of your best work that visually communicates your abilities as a makeup artist. It serves as a tangible reflection of your artistry, showcasing the breadth and depth of your skills across various makeup styles, techniques, and client needs. Whether you're an aspiring artist looking to break into the industry or an established professional aiming to attract high-profile clients, your portfolio is your visual resume, one that speaks louder than words.
Target Audiences
Understanding who you are trying to reach with your portfolio is key to tailoring its content effectively. Different audiences have different expectations, and your portfolio should be adaptable enough to meet those varied needs:
Private Clients: These might include brides, individuals seeking makeup for special occasions, or anyone looking for a personalized makeup service. For this audience, your portfolio should highlight your ability to create customized looks that enhance the natural beauty of each client.
Corporate Clients: This group includes brands, production companies, and agencies looking for makeup artists for advertising campaigns, editorial shoots, or film and television work. Corporate clients are often looking for evidence of professionalism, versatility, and the ability to execute specific creative visions.
Industry Professionals: This category includes other makeup artists, photographers, stylists, and fashion designers who might collaborate with you on projects. Here, showcasing your technical proficiency and creative collaborations will be crucial.
Portfolio as a Marketing Tool
In the modern makeup industry, your portfolio is not just a static collection of images; it’s a dynamic marketing tool that can define your brand and attract the right clients. By carefully curating your portfolio, you can highlight your strengths, convey your unique artistic style, and strategically position yourself in the market. For instance, if you want to specialize in bridal makeup, your portfolio should feature a range of bridal looks that reflect the latest trends, while also demonstrating your ability to work with different skin tones and preferences.
Moreover, with the increasing reliance on digital platforms for discovering talent, your online portfolio can reach a global audience, making it an invaluable asset in your marketing strategy. A well-maintained digital portfolio, supported by a strong social media presence, can significantly boost your visibility and help you connect with potential clients and collaborators who resonate with your style.


Planning and Curating Your Portfolio
Building an effective makeup portfolio requires thoughtful planning and careful curation. It's not just about gathering images of your work; it's about strategically selecting and presenting your best pieces to align with your career goals and appeal to your target audience. This section will guide you through setting clear goals, selecting your strongest work, and understanding the expectations of your audience to create a portfolio that stands out in the competitive makeup industry.
Selecting Your Best Work
This is where quality over quantity becomes crucial.
Quality Over Quantity: It’s better to have a smaller collection of outstanding work than a larger selection of mediocre pieces. Each image in your portfolio should be a strong representation of your skills, creativity, and versatility. Choose images that not only show your technical proficiency but also reflect your unique artistic style.
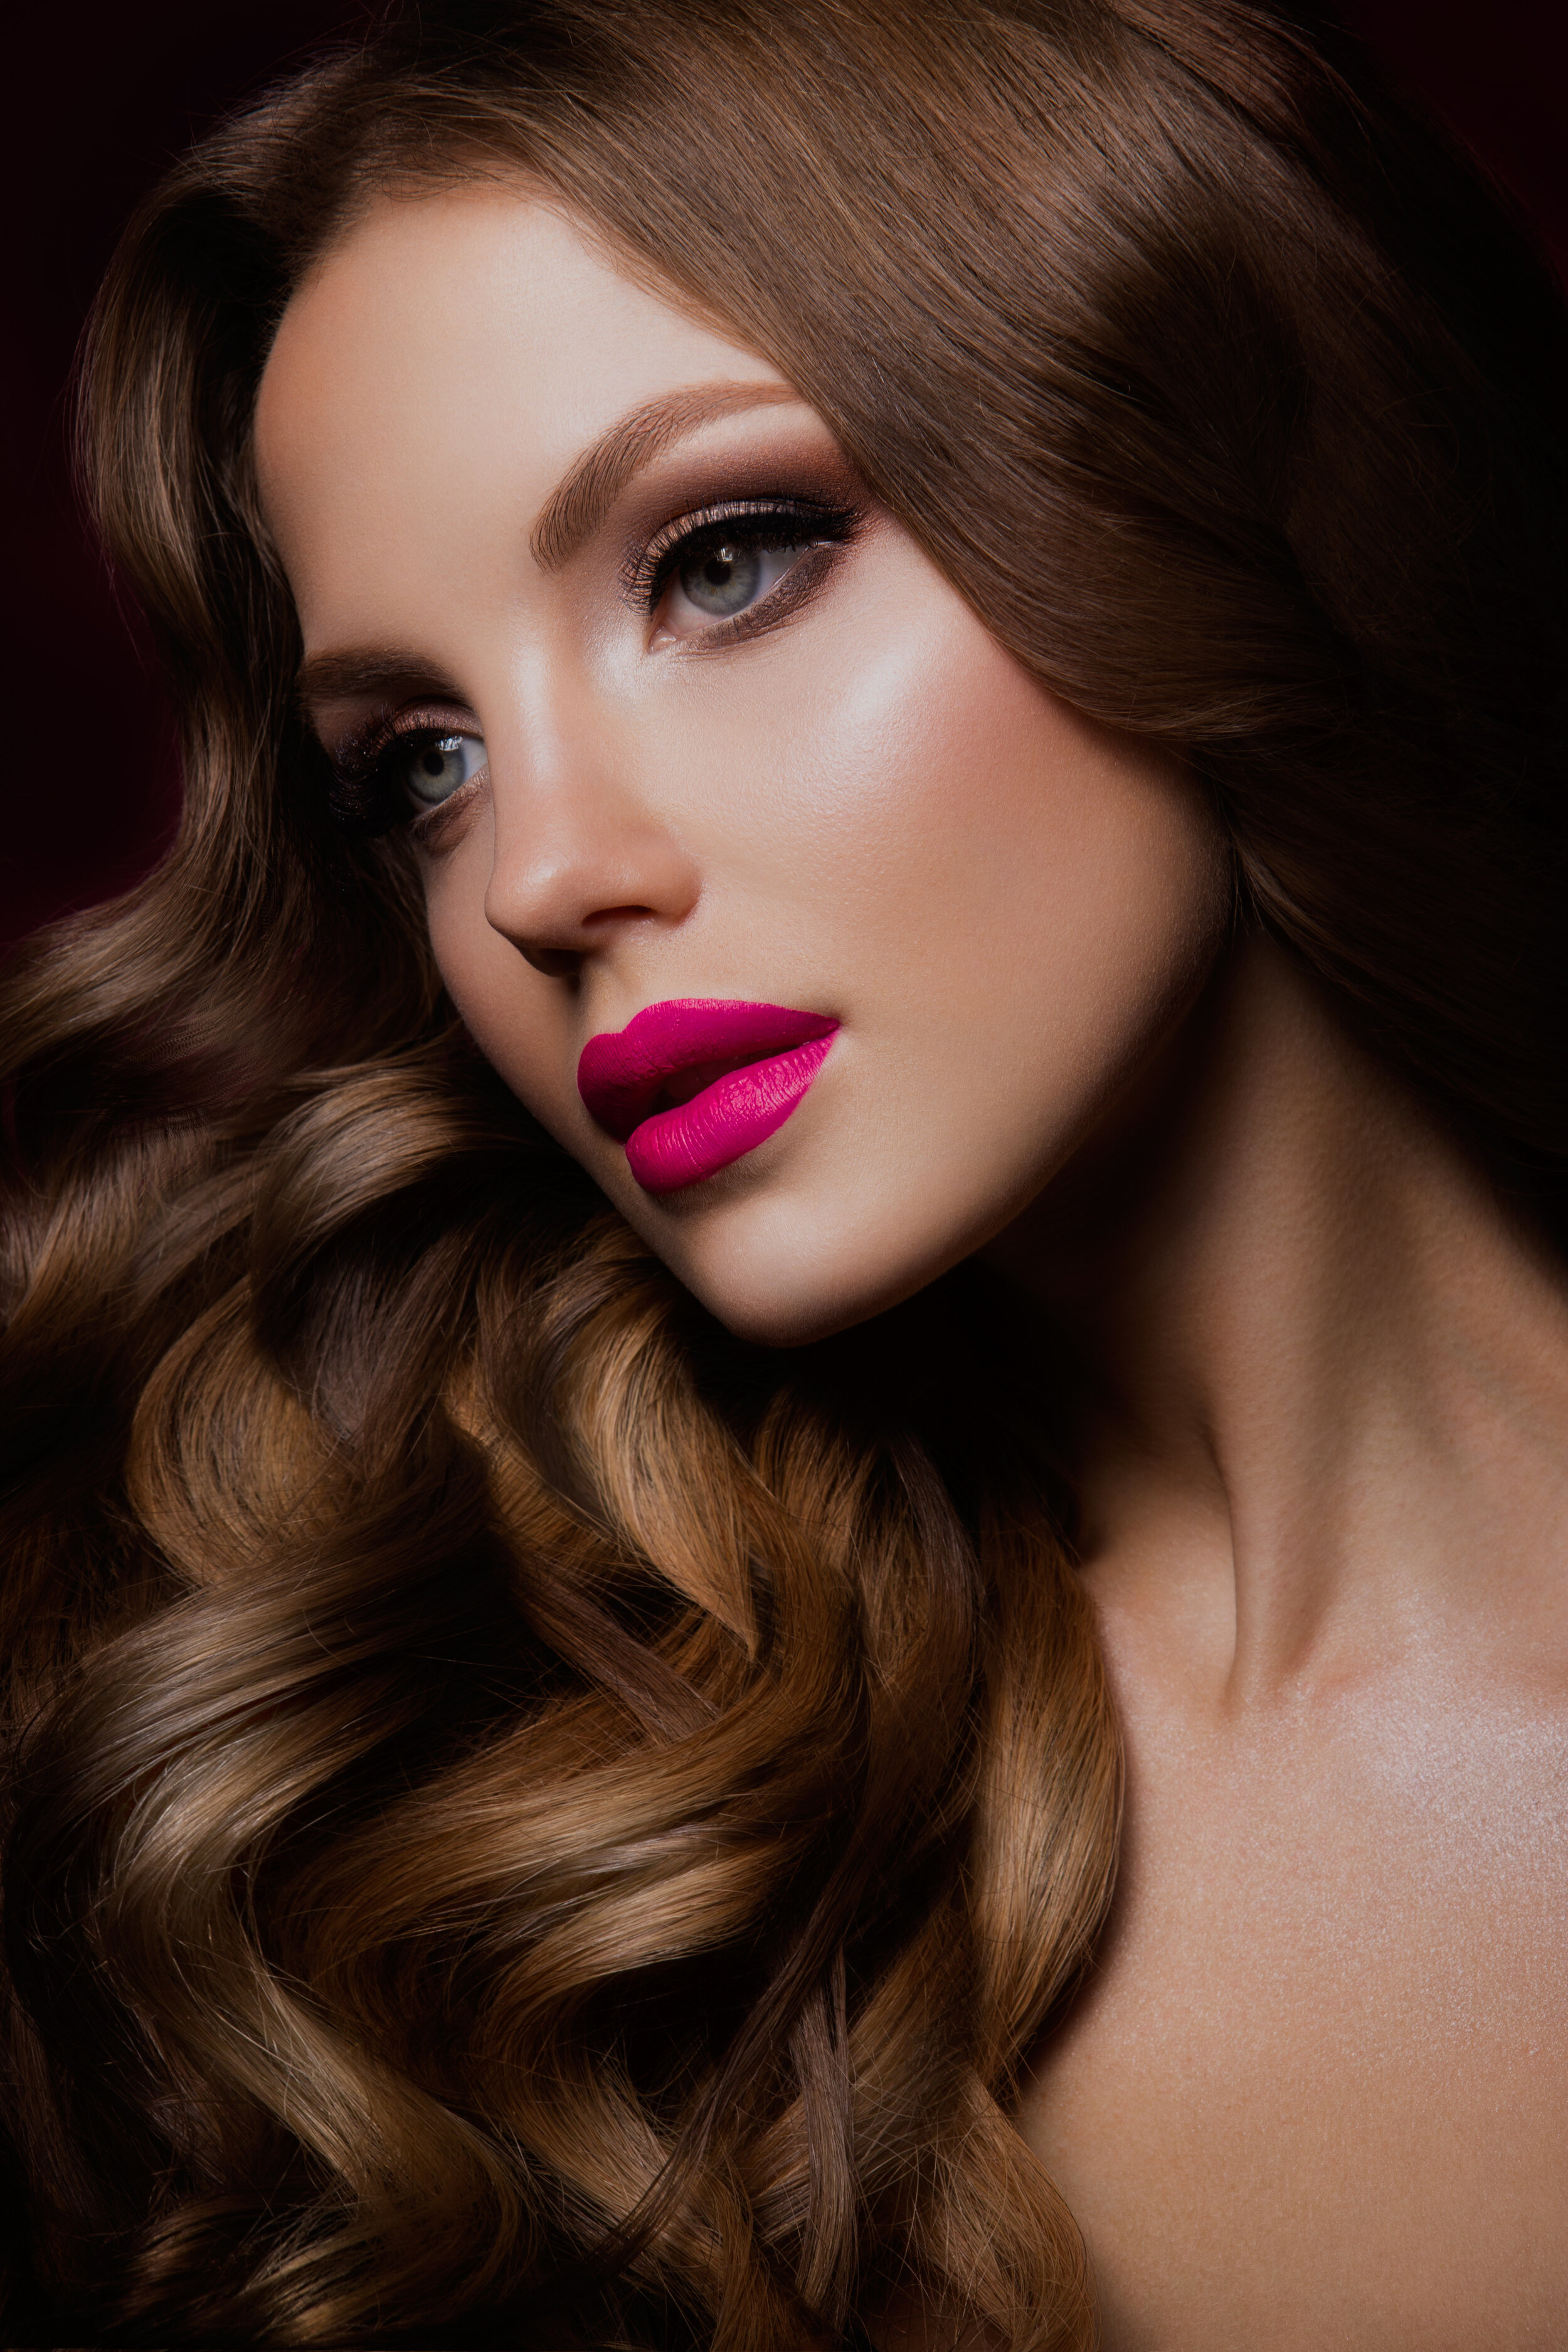
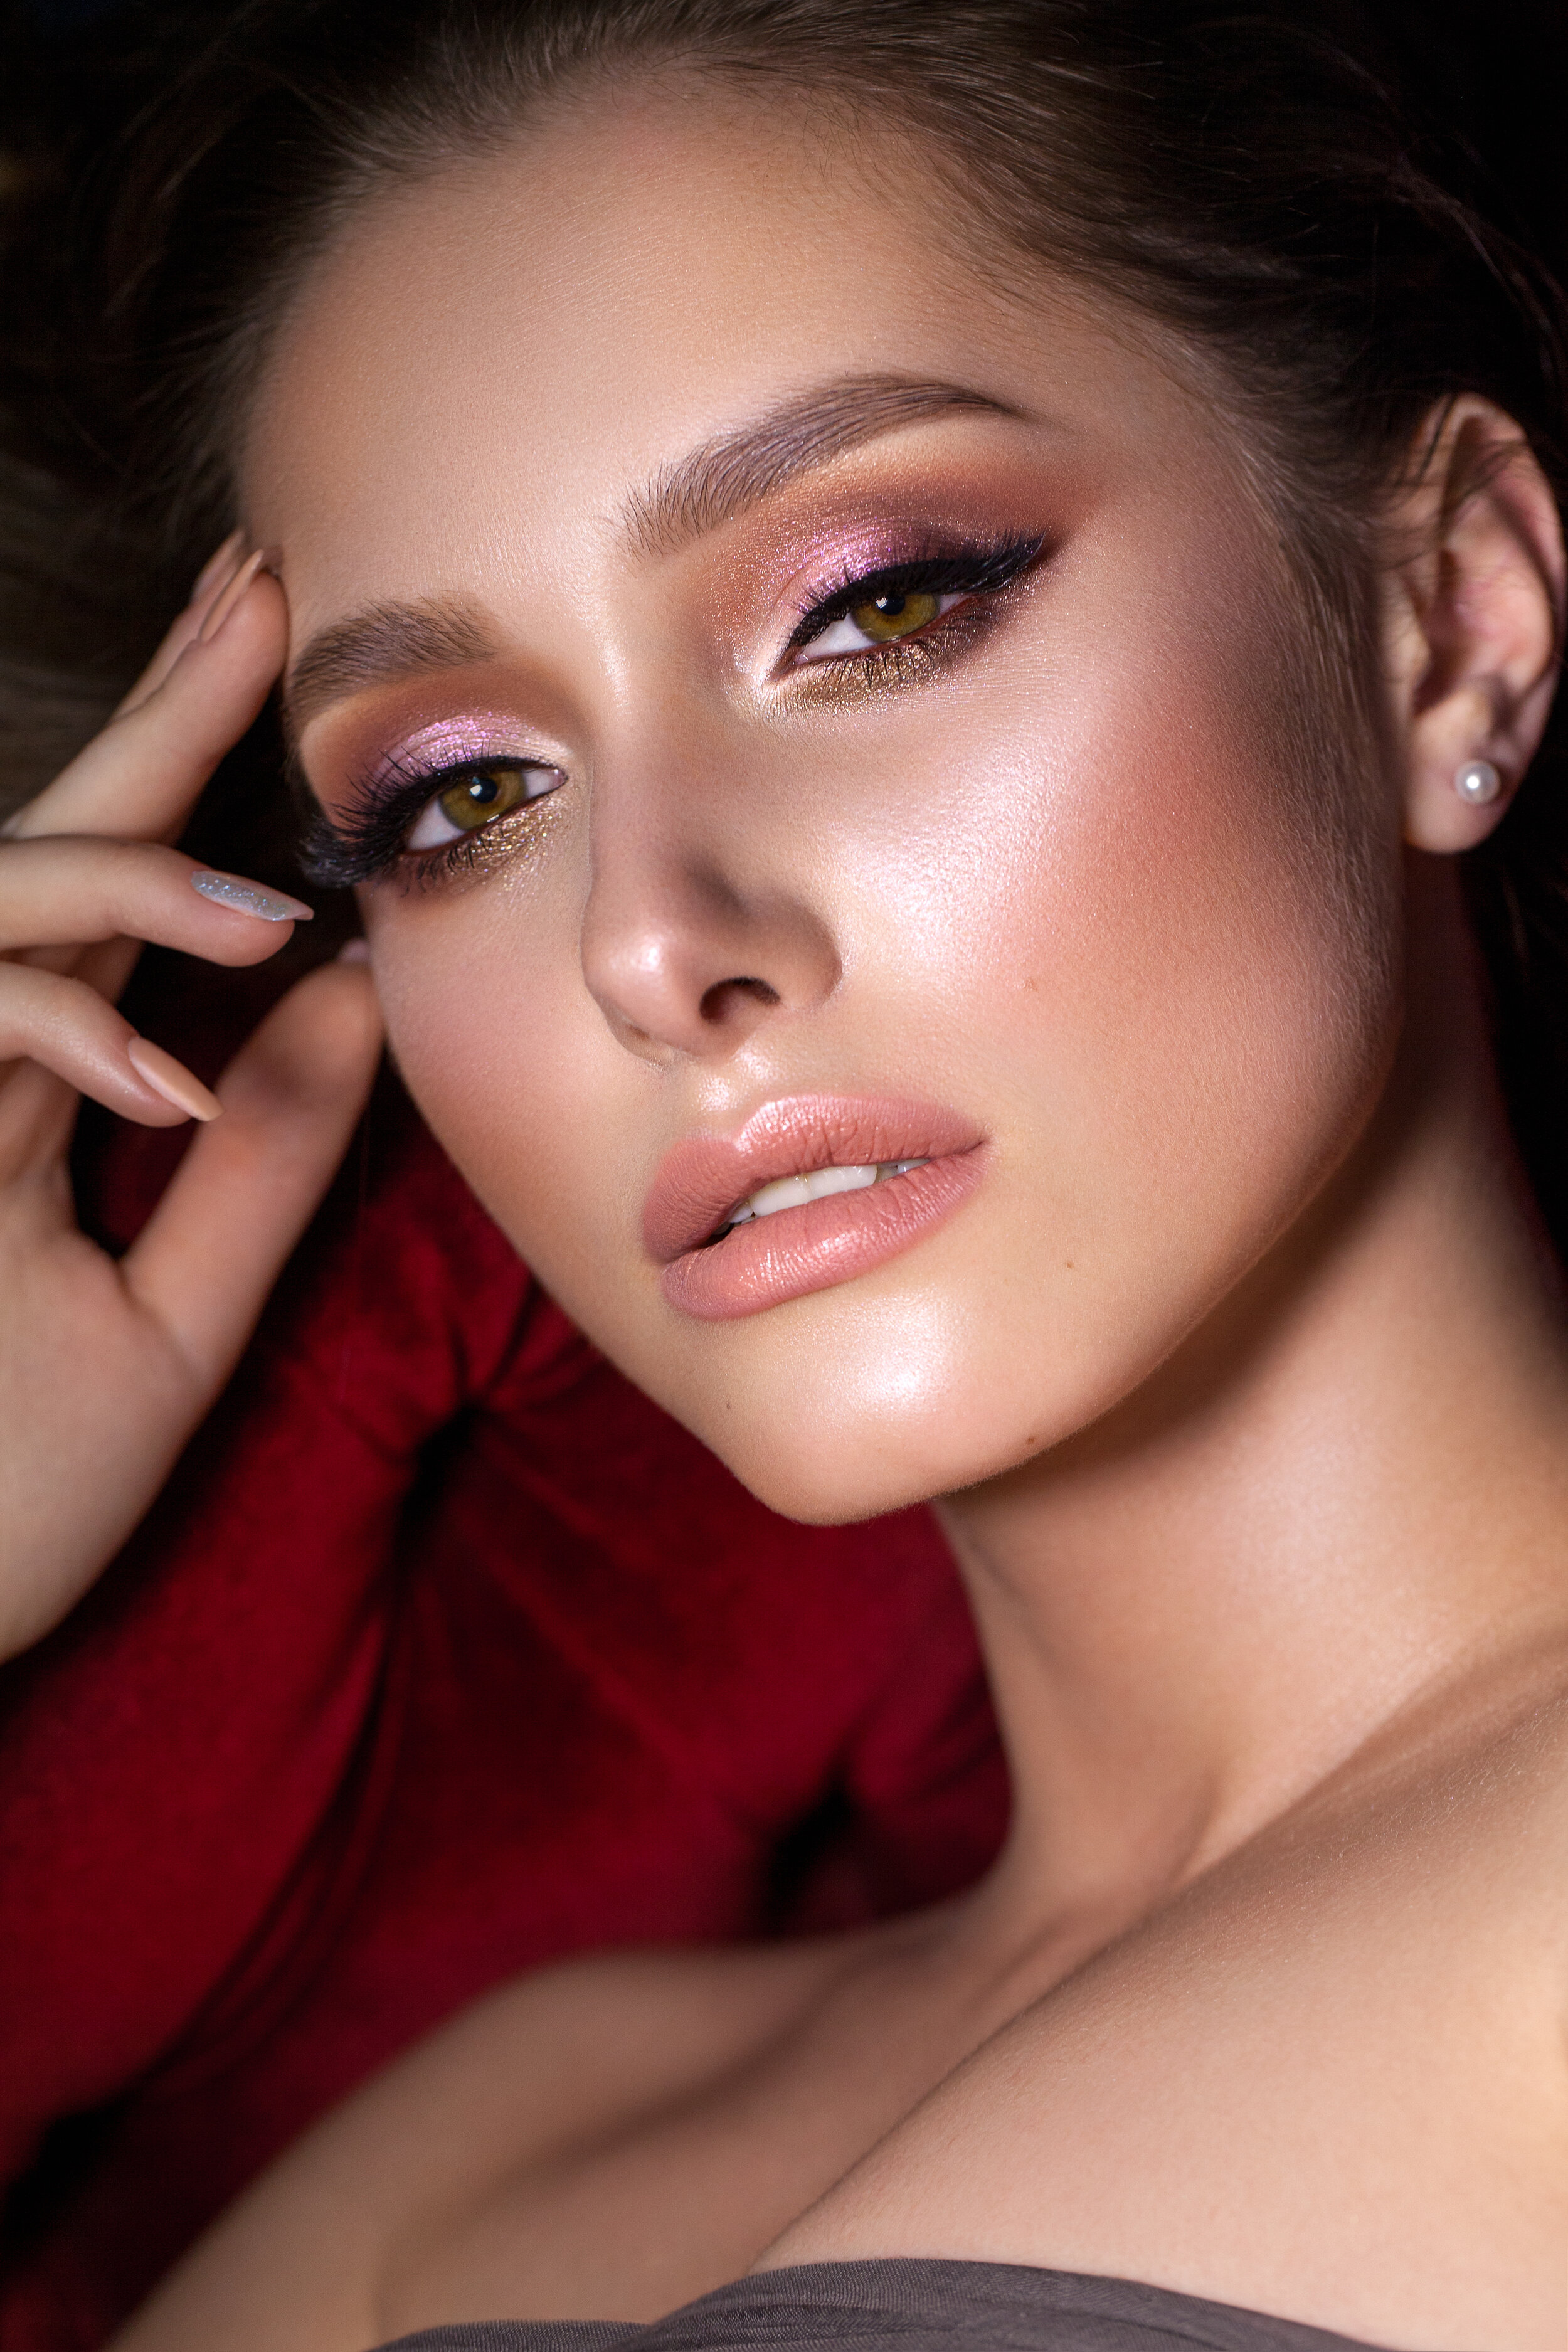
Diversity in Styles: Your portfolio should demonstrate your ability to work across a variety of makeup styles and techniques. Include different types of looks, such as natural, glam, editorial, and avant-garde, to showcase your versatility. This diversity will appeal to a broader range of clients and projects, making you a more attractive candidate for different types of work.
Versatility with Clients: It’s important to show that you can work with a variety of skin tones, ages, and facial features. Including a range of models in your portfolio demonstrates your adaptability and ensures that potential clients of all backgrounds can see themselves in your work.
Understanding the Audience’s Expectations
To make your portfolio truly effective, you need to understand and meet the expectations of your target audience. Different clients and sectors of the industry will be looking for different things in a makeup portfolio.
Private Clients: Private clients, such as brides or individuals seeking makeup for special occasions, often look for makeup artists who can enhance natural beauty while tailoring looks to their personal preferences. For this audience, it’s important to include images that showcase your ability to create personalized, flattering looks that are both beautiful and wearable.
Corporate and Editorial Clients: Corporate clients, including those in fashion, advertising, and media, will be looking for evidence of your ability to execute specific creative visions under professional conditions. Your portfolio should include examples of editorial work, high-fashion looks, and any corporate projects you’ve done, emphasizing your professionalism, creativity, and ability to collaborate with other professionals in the industry.
Industry Professionals: When targeting collaborations with other industry professionals, such as photographers, stylists, and fashion designers, your portfolio should highlight your technical proficiency and ability to contribute to creative projects. Showcasing your work in different contexts, like fashion shoots, runway shows, or film, can help you attract these kinds of partnerships.
By carefully selecting your best work, and understanding your audience's expectations, you can create a portfolio that not only showcases your talent but also strategically positions you in the market. This thoughtful approach to planning and curating your portfolio will help you attract the right opportunities and achieve success in your makeup career.
Preparing for a Portfolio Photo Shoot
A successful portfolio photo shoot is pivotal in showcasing your makeup artistry at its best. Careful planning, collaboration with other professionals, and attention to detail can make all the difference in capturing images that truly reflect your skills. This section will guide you through the key steps to organizing a photo shoot, highlight the essential elements to capture, and provide tips on lighting and composition to ensure your makeup looks are presented flawlessly.
Planning the Shoot
Organizing a portfolio photo shoot involves several steps, each requiring careful consideration to ensure that the final images effectively showcase your work.
Conceptualizing the Shoot:
Define the Theme: Start by deciding on the overall theme or concept of the shoot. This could be based on the specific makeup styles you want to highlight, such as bridal, editorial, or avant-garde looks. Having a clear vision will guide the entire process, from model selection to styling and photography.
Mood Boards and References: Create mood boards or collect visual references that align with your theme. These can serve as a guide for everyone involved in the shoot, ensuring a cohesive final result.
Collaborating with Professionals:
Photographer: Choose a photographer who understands how to capture makeup effectively. Review their portfolio to ensure their style aligns with your vision. Discuss the shoot’s goals with them, particularly focusing on how to highlight the makeup in the images.
Models: Select models whose features complement the makeup styles you plan to showcase. Consider diversity in skin tones, face shapes, and ages to demonstrate your versatility. Ensure the models are comfortable with the makeup concepts you intend to create.
Stylists and Hairdressers: Collaborate with a stylist and hairdresser to create a cohesive look. Their work should complement the makeup without overshadowing it. Clear communication about the overall concept is essential to maintain harmony in the final images.
Organizing the Logistics:
Scheduling and Location: Plan the shoot well in advance, securing a location that fits the concept. Whether it’s a studio, outdoor setting, or a specific venue, the environment should enhance the makeup looks rather than distract from them.
Preparation and Practice: Before the shoot, practice the makeup looks you intend to showcase. This preparation allows you to refine techniques and ensures a smoother process on the day of the shoot.
Day of the Shoot:
Time Management: Allow ample time for each makeup look, including touch-ups during the shoot. Rushing can lead to subpar results, so plan the schedule to accommodate the complexities of each style.
On-Set Adjustments: Be prepared to make adjustments on the spot, whether it’s tweaking the makeup, changing the lighting, or re-styling a look. Flexibility is key to achieving the best results.
Key Elements to Capture
The images in your portfolio should be carefully selected to highlight your makeup skills effectively. Here are the key types of shots to prioritize:
Close-Ups:
Focus on Details: Close-up shots are essential for showcasing the intricate details of your makeup work, such as eye makeup, lip color, and contouring. These images should capture the precision of your technique, highlighting textures, colors, and blending.
Full-Face Shots:
Balanced Composition: Full-face images provide an overall view of your makeup artistry. These shots should balance all elements of the makeup, showing how the eyes, lips, skin, and other features work together to create a cohesive look.
Before-and-After Comparisons:
Transformation: Including before-and-after images is a powerful way to demonstrate your ability to transform a client’s appearance. These comparisons can highlight your skills in enhancing natural beauty or creating dramatic changes, depending on the client’s needs.
Variety of Angles:
Showcase Versatility: Capture your makeup from different angles to provide a comprehensive view of your work. Side profiles, three-quarter views, and over-the-shoulder shots can reveal different aspects of your makeup that might not be visible in a straight-on shot.
Lighting Tips
Lighting and composition are crucial to ensuring that your makeup is captured in the best possible way. Here are some tips to keep in mind:
Natural Light: Whenever possible, use natural light to capture the true colors and textures of your makeup. Soft, diffused natural light, such as that from a large window, is ideal for creating even lighting that flatters the skin and highlights the makeup.
Studio Lighting: If natural light isn’t available, use softboxes or ring lights to create a similar effect. Avoid harsh, direct light, as it can cast unflattering shadows and alter the appearance of the makeup.
Highlighting Features: Use lighting to accentuate key features. For instance, a subtle spotlight on the eyes can draw attention to intricate eye makeup, while side lighting can emphasize the contours of the face.
By meticulously planning your shoot, collaborating with the right professionals, and focusing on the key elements and techniques that highlight your makeup artistry, you can create a portfolio that truly represents your skills and creativity. The images you capture during this shoot will be the cornerstone of your portfolio, so taking the time to get them right is essential to building a successful makeup career.

Organizing and Presenting Your Portfolio
Once you've carefully curated the content for your portfolio, the next step is organizing and presenting it in a way that effectively showcases your skills and tells your story as a makeup artist. The structure of your portfolio, the format you choose, and the consistency across platforms all play crucial roles in how potential clients and employers perceive your work.
Thematic Organization
The way you organize your portfolio can greatly influence how your work is perceived.
Telling a Story: Organizing your portfolio thematically allows you to tell a story with your work. By grouping similar styles or projects together, you can create a narrative that highlights your expertise in specific areas, such as bridal makeup, editorial work, or special effects. This method helps clients quickly understand your strengths and the range of services you offer.
Focus on Specialization: If you’re aiming to position yourself as a specialist in a particular area, thematic organization is particularly effective. For example, if you specialize in bridal makeup, you can create a section of your portfolio dedicated entirely to different bridal looks, demonstrating your versatility within that niche.
Physical vs. Digital Portfolios
In today’s digital age, both physical and digital portfolios have their place, each offering unique benefits. Understanding when and how to use each can help you maximize your reach and impact.
Physical Portfolios:
Tangible Experience: A physical portfolio provides a tangible, personal experience that can be impactful in face-to-face meetings. The tactile quality of a well-designed physical portfolio can leave a lasting impression, making it a valuable tool in interviews, client meetings, or at trade shows.
Showcasing Quality: In a physical portfolio, you have complete control over the quality of the prints, the paper used, and the overall presentation. This allows you to present your work in the best possible light, emphasizing the fine details and textures of your makeup artistry.
Traditional Settings: Physical portfolios are particularly useful in more traditional or high-end settings, where personal interaction is key. Luxury clients, fashion houses, or industry veterans may appreciate the effort and craftsmanship that goes into a beautifully crafted physical portfolio.
Digital Portfolios:
Wider Reach: A digital portfolio is accessible to a global audience, making it essential for reaching potential clients and collaborators who may not be in your immediate vicinity. With the rise of online platforms and social media, a digital portfolio allows you to showcase your work to a broader audience, anytime and anywhere.
Interactive Features: Digital portfolios offer interactive features that physical portfolios cannot. You can include videos, behind-the-scenes footage, and links to your social media profiles, providing a more dynamic and engaging experience for viewers.
Ease of Updates: One of the biggest advantages of a digital portfolio is the ease with which you can update it. As you complete new projects or refine your skills, you can quickly add new images and remove older ones, ensuring that your portfolio always reflects your current level of expertise.
Modern Trends:
Social Media Integration: Platforms like Instagram have become vital tools for makeup artists to showcase their portfolios. With features like Stories, Reels, you can share your work in real-time, engage with your audience, and build a following. Using Instagram as a portfolio allows you to connect with clients who are actively seeking inspiration and services online.
Specialized Portfolio Websites: Websites like Behance or Adobe Portfolio allow you to create a professional digital portfolio with ease. These platforms are specifically designed for creatives, offering templates and tools to help you present your work beautifully and professionally. They also provide networking opportunities, as they are frequented by industry professionals looking for talent.
Consistency Across Platforms
Maintaining a consistent brand image across all platforms is crucial for building a strong, recognizable presence in the industry. Whether you're presenting your portfolio in physical form, on a dedicated website, or through social media, consistency in style, tone, and branding will reinforce your professional identity.
Visual Consistency:
Cohesive Aesthetic: Ensure that the visual style of your portfolio is consistent across different platforms. This includes using the same color schemes, fonts, and layout designs, whether in your physical portfolio, website, or social media profiles. A cohesive aesthetic creates a professional, polished look that makes your brand instantly recognizable.
Logo and Branding Elements: If you have a logo or specific branding elements, use them consistently across all platforms. This could include watermarks on your images, branded cover pages in your portfolio, or a consistent profile picture and bio across social media channels.
Content Consistency:
Unified Message: The message you convey through your portfolio should be consistent across all platforms. This includes the way you describe your services, the tone of your writing, and the types of work you choose to highlight. Whether someone views your work on Instagram, your website, or in a physical portfolio, they should receive the same clear, compelling message about who you are as a makeup artist.
Regular Updates: Consistency also means regularly updating your portfolio across all platforms. When you add new work to your digital portfolio, make sure it’s also reflected on your social media profiles and, if applicable, in your physical portfolio. Keeping your content fresh and aligned across platforms helps maintain your professional image and keeps your audience engaged.
By thoughtfully organizing your portfolio, choosing the right format for different situations, and ensuring consistency across all platforms, you can effectively present your work in a way that resonates with your target audience. This strategic approach to portfolio presentation will help you build a strong, cohesive brand that stands out in the competitive makeup industry.
Keeping Your Portfolio Updated
A portfolio is a dynamic tool that evolves along with your career. Regular updates and an acute awareness of current trends are essential to ensuring that your portfolio remains relevant, fresh, and aligned with the ever-changing landscape of the makeup industry. This section explores the importance of keeping your portfolio updated and how to ensure it reflects current trends in makeup artistry.
Regular Updates
As you grow as a makeup artist, your skills, techniques, and the quality of your work will inevitably improve. It’s crucial that your portfolio reflects this progression. Regular updates are necessary for several key reasons:
Showcasing Recent Work:
Current Expertise: Your most recent work is likely to be the best representation of your current skills and expertise. By regularly updating your portfolio, you ensure that potential clients and employers see the most accurate depiction of what you can offer. This is particularly important if you’ve mastered new techniques, worked with high-profile clients, or expanded into new areas of makeup artistry.
Highlighting Milestones: Every artist has career milestones, whether it’s a major photoshoot, a collaboration with a renowned brand, or a high-profile event. Including these achievements in your portfolio not only keeps it fresh but also demonstrates your growth and the trajectory of your career. It’s a way of telling your professional story in real time.
Removing Outdated Content:
Maintaining Relevance: As you gain experience, some of your earlier work may no longer represent the standard you wish to showcase. Removing outdated content that doesn’t align with your current style or level of expertise is just as important as adding new work. This helps maintain the overall quality of your portfolio and ensures that it accurately reflects where you are in your career.
Preventing Clutter: Over time, it’s easy for a portfolio to become cluttered with too many images. Regularly reviewing and curating your portfolio allows you to keep it focused and streamlined. Each piece of work included should serve a purpose, either showcasing your skills, style, or the variety of looks you can create.
Adaptability to Opportunities:
Tailoring for Specific Clients: Regular updates also make it easier to tailor your portfolio for specific opportunities. If a potential client or employer is looking for something particular, you can quickly adapt your portfolio to highlight the most relevant work. This flexibility can give you a competitive edge in securing new projects or clients.

Utilizing Your Portfolio for Marketing
Your portfolio is not just a collection of your work; it’s a powerful marketing tool that can help you attract and retain clients. To maximize its effectiveness, it's essential to tailor your marketing strategies to different client segments and leverage the power of social media and online platforms. This section will guide you on how to use your portfolio to market yourself effectively.
Targeted Marketing Strategies
Marketing your portfolio effectively requires a strategic approach that considers the unique needs and preferences of different client segments. Whether you’re targeting private clients or corporate clients, tailoring your portfolio and marketing strategies can make a significant difference in attracting the right opportunities.
Marketing to Private Clients:
Personalized Approach: Private clients often seek a makeup artist who can provide personalized services tailored to their individual needs, whether it’s for a wedding, special event, or personal makeover. When marketing to this segment, emphasize your ability to create custom looks that align with each client’s personal style and preferences.
Highlighting Relatable Work: Include examples in your portfolio that resonate with private clients, such as bridal makeup, special event looks, and before-and-after transformations. These types of images help potential clients envision how your skills can meet their specific needs.
Client Testimonials: Private clients value recommendations from others. Include testimonials from previous clients in your portfolio or marketing materials to build trust and credibility. Positive feedback from happy clients can be a persuasive factor in a potential client’s decision-making process.
Marketing to Corporate Clients:
Professional Presentation: Corporate clients, such as beauty brands, fashion houses, and media companies, are often looking for a makeup artist with a polished, professional portfolio that demonstrates the ability to handle high-stakes, high-visibility projects. Ensure your portfolio is sleek, well-organized, and easy to navigate.
Showcasing Versatility: Corporate clients appreciate versatility and creativity. Highlight a diverse range of work in your portfolio, including editorial shoots, commercial work, runway makeup, and collaborations with other professionals in the industry. This demonstrates your ability to adapt to different styles and requirements.
Industry-Specific Case Studies: Consider including case studies or detailed descriptions of significant projects you’ve worked on, especially if they involved well-known brands or high-profile events. This helps corporate clients understand the scope of your experience and the value you can bring to their projects.
Segment-Specific Portfolios:
Tailored Portfolios: If you frequently work with both private and corporate clients, consider creating tailored versions of your portfolio for each segment. For instance, you might have one portfolio that focuses on bridal and event makeup for private clients and another that emphasizes editorial and commercial work for corporate clients. This ensures that each potential client sees the most relevant examples of your work.
Leveraging Social Media and Online Presence
In today’s digital age, a strong online presence is crucial for marketing your portfolio effectively. Social media and online platforms offer powerful tools for reaching a wide audience and showcasing your work in a dynamic and engaging way.
Using Social Media to Showcase Your Portfolio:
Instagram as a Visual Portfolio: Instagram is an ideal platform for makeup artists to showcase their work due to its visual nature. Use your Instagram feed as a living portfolio by regularly posting high-quality images of your work, including close-ups, full-face shots, and before-and-after transformations. Utilize Instagram Stories and Reels to share behind-the-scenes content, makeup tutorials, and client testimonials.
Engagement and Interaction: Social media is not just about posting content; it’s also about engaging with your audience. Respond to comments, engage with followers, and participate in relevant conversations within the beauty community. This helps build a loyal following and increases your visibility to potential clients.
Using Hashtags and Tags: To reach a broader audience, use relevant hashtags and tag brands, clients, and collaborators in your posts. This can increase the likelihood of your work being discovered by new clients, especially if those you’ve tagged choose to share or repost your content.
Building an Online Portfolio Website:
Dedicated Portfolio Website: While social media platforms are essential, having a dedicated portfolio website is equally important. A website allows you to present your work in a controlled environment without the distractions of social media. It also gives you the space to include more detailed information about your services, experience, and client testimonials.
Search Engine Optimization (SEO): To ensure your website is easily found by potential clients, optimize it for search engines by using relevant keywords, including “makeup artist portfolio,” “bridal makeup,” or “editorial makeup.” Regularly updating your website with new content, such as blog posts or recent work, can also improve your search engine ranking.
Integrating E-commerce or Booking Tools: If you offer services like online consultations or makeup courses, consider integrating e-commerce or booking tools into your website. This not only makes it easier for clients to book your services but also positions you as a forward-thinking, accessible artist.
Leveraging Online Portfolio Platforms:
Specialized Portfolio Websites: In addition to social media and a personal website, consider using specialized portfolio platforms like Behance or Adobe Portfolio. These platforms are designed for creatives and offer tools to showcase your work professionally. They also have built-in communities and networks that can increase the visibility of your portfolio to industry professionals and potential clients.
Cross-Promotion Across Platforms: Ensure consistency across all platforms where your portfolio is displayed. This includes using the same branding elements, such as logos, color schemes, and language. Cross-promote your portfolio by linking your website, social media profiles, and online portfolio platforms together, making it easy for clients to access your work from multiple entry points.
By implementing targeted marketing strategies and effectively leveraging social media and online platforms, you can maximize the impact of your portfolio and attract a steady stream of clients. Whether you’re aiming to reach private clients, corporate clients, or both, a well-marketed portfolio is a powerful tool for building a successful makeup career.
Conclusion
Building a successful makeup portfolio is a journey that requires thoughtful planning, creativity, and ongoing dedication. By following the key tips outlined in this guide, you can create a portfolio that not only showcases your skills and artistry but also helps you stand out in the competitive beauty industry.
Summary of Key Points
Understanding the Purpose: Your portfolio is more than just a collection of your work; it's a powerful marketing tool that reflects your skills, style, and professionalism. Ensure it aligns with your career goals and effectively communicates your unique value as a makeup artist.
Planning and Curating: Set clear goals for your portfolio, select only your best work, and always keep your audience’s expectations in mind. Curating your portfolio with intention helps you tell a compelling story and demonstrate your growth as an artist.
Preparing for Photo Shoots: Organize successful photo shoots by collaborating with experienced photographers, models, and stylists. Capture key elements like close-ups, full-face shots, and before-and-after images, while paying attention to lighting and composition.
Organizing and Presenting: Structure your portfolio thematically or chronologically to show progression in your work. Consider the benefits of both physical and digital portfolios, and ensure consistency across all platforms to maintain a strong brand image.
Showcasing Your Unique Style: Use your portfolio to highlight your personal branding and signature looks. Showcasing what makes you unique helps you attract clients who resonate with your aesthetic and approach.
Keeping Your Portfolio Updated: Regularly update your portfolio to include recent work and reflect current trends. Keeping your portfolio fresh and relevant is essential for staying competitive in the fast-paced beauty industry.
Utilizing for Marketing: Leverage your portfolio as a marketing tool by tailoring it to different client segments and using social media and online platforms to reach a wider audience. A well-marketed portfolio can open doors to exciting new opportunities.
Finalizing and Polishing: Pay attention to every detail, from proofreading to consistent formatting. Seek professional feedback to refine your portfolio and ensure it is polished and ready to impress potential clients and employers.
Encouragement
Starting or revamping your portfolio might seem like a daunting task, but it’s an essential step in advancing your makeup career. Remember, your portfolio is a reflection of who you are as an artist, your creativity, your passion, and your dedication to your craft. Don’t be afraid to experiment, to showcase your unique style, and to push the boundaries of your creativity. With the tips provided, you have the tools to build a portfolio that not only represents your best work but also sets the foundation for your future success.
Call to Action
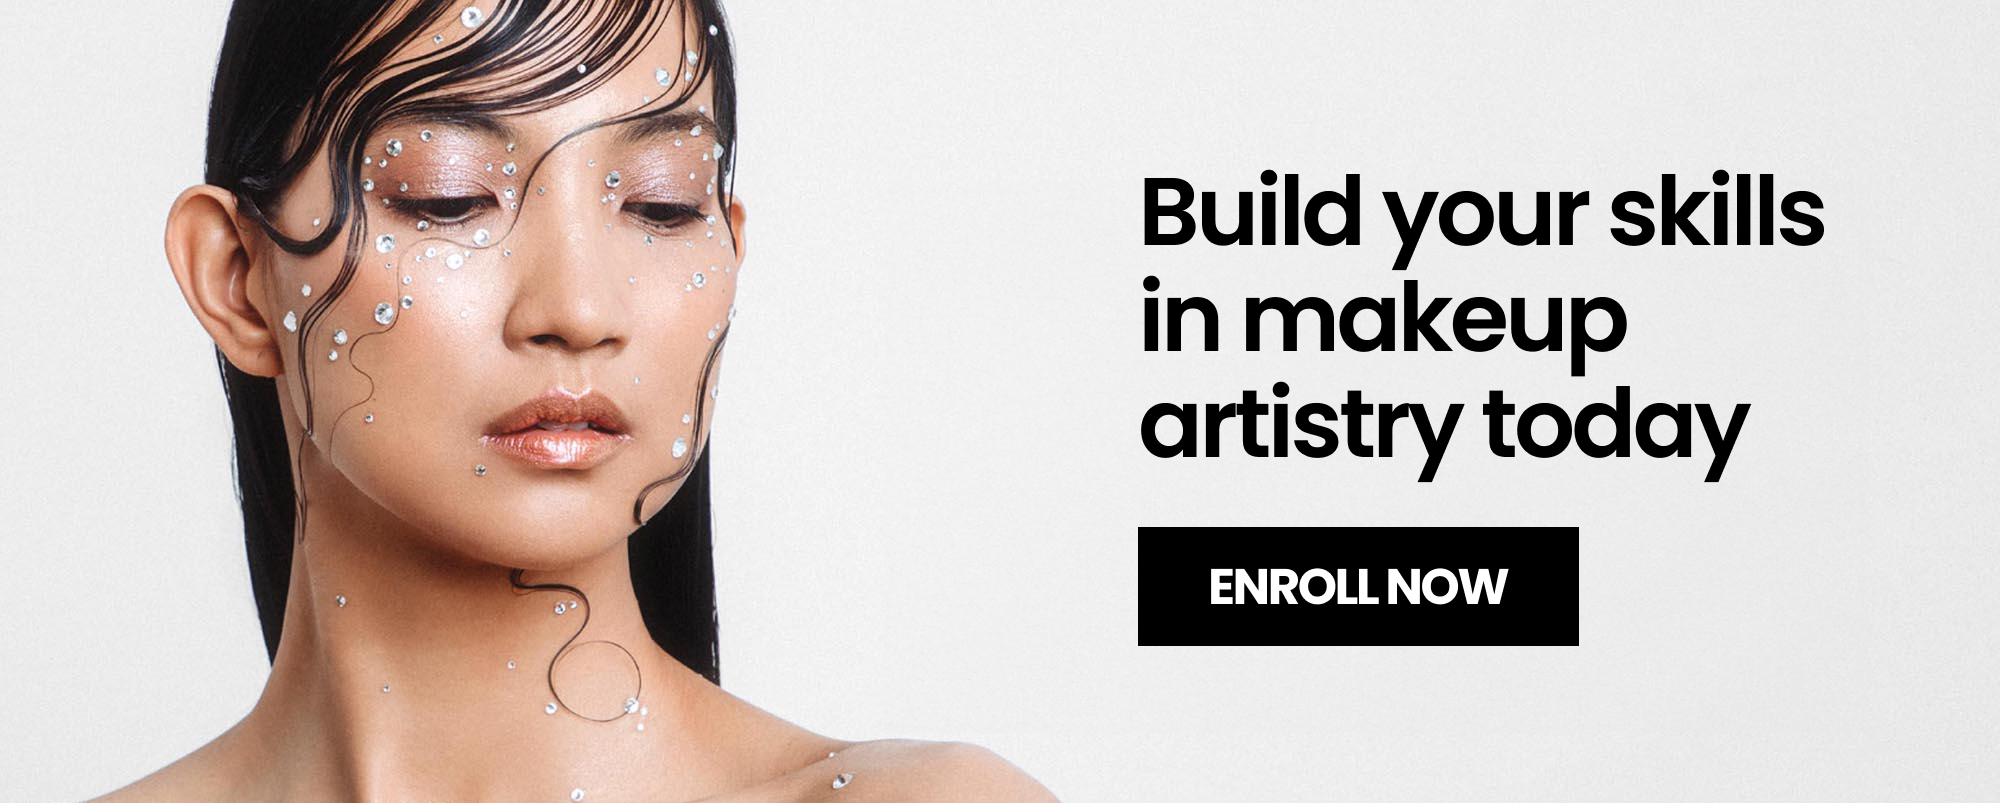
As you embark on this journey to build or enhance your portfolio, consider taking your skills to the next level with courses at the Online Makeup Academy. Our courses are designed to help you refine your techniques, discover new trends, and learn from industry professionals. Whether you’re just starting out or looking to advance your career, the Online Makeup Academy provides the education and support you need to create a portfolio that truly stands out. Visit our website today to explore our courses and take the next step in your makeup artistry career!
By Nina Mua, Founder & Lead Educator at Online Makeup Academy | Last updated: April 2026
Frequently Asked Questions
How many images should be in a makeup artist portfolio?
For a digital portfolio (Instagram, website), 20-40 carefully curated images is ideal. For a physical portfolio or tablet presentation, 15-20 of your absolute best images. Quality matters far more than quantity. Remove any image you are not completely confident about. As a general rule, if an image does not make you think "this is some of my best work," it does not belong in your portfolio.
Do I need a professional photographer for my portfolio?
For your strongest portfolio pieces, yes. Professional lighting and photography make a significant difference in how your makeup reads on camera. However, you can start with high-quality smartphone photos taken in natural window light against a plain background. As your career progresses, invest in TFP (time for print) collaborations with photographers, these are free and mutually beneficial. OMA's training includes guidance on photographing your work effectively.
Should my portfolio be digital or printed?
Both, ideally. A digital portfolio on Instagram and your personal website is essential for online discovery and client inquiries. A tablet or printed portfolio is valuable for in-person bridal consultations, agency meetings, and networking events. At minimum, start with Instagram and a simple website. Add a physical book as your career and image library grow.
How often should I update my portfolio?
Review your portfolio every 3-6 months. Remove older or weaker images as your skills improve and replace them with your latest, strongest work. Your portfolio should always represent your current skill level, not where you were a year ago. After completing a particularly strong shoot, add those images right away and remove your weakest existing ones to maintain quality.
What if I'm a beginner with no portfolio images yet?
Start by practicing on friends and family and photographing every look. Use natural window light and a plain background for clean images. Reach out to aspiring models and photographers for collaborative shoots. Even 5-8 strong images from practice sessions and collaborations are enough to start an Instagram portfolio. Every working makeup artist started with zero images, the key is to begin creating content immediately and improve with every shoot.